Amish Shed Kit Installation Services for Property Owners
Visitors will learn about local contractors who provide Amish shed kit installation services and how to compare their offerings.
- - Amish Shed Kit Installation Services - connecting property owners with local contractors experienced in installing Amish-made shed kits.
- - Residential and commercial property owners seeking reliable installation support from nearby service providers.
- - Professionals skilled in assembling and installing shed kits on various property types, ensuring proper setup and durability.

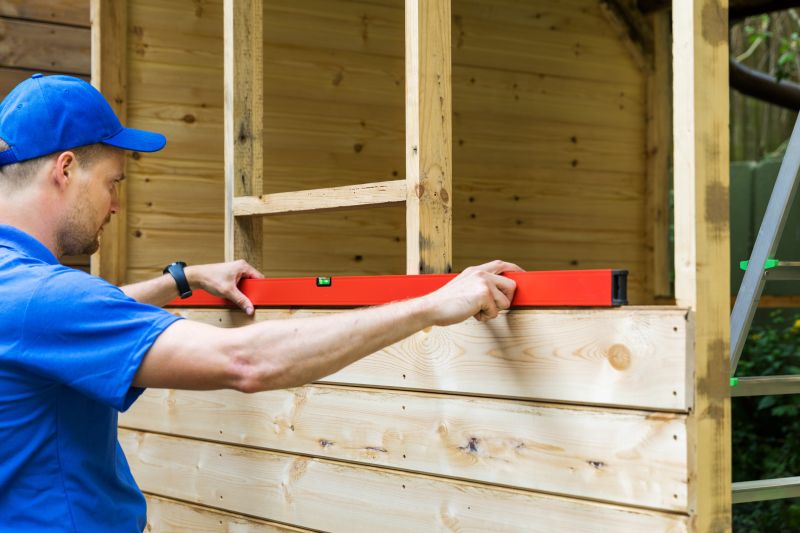

Amish shed kit installation services involve the setup and assembly of pre-fabricated shed kits typically designed in traditional Amish craftsmanship styles. Property owners often seek these services to add functional storage space or outdoor structures that complement their property. Local contractors specializing in shed installation handle tasks such as site preparation, precise assembly, and secure anchoring to ensure the shed is stable and durable. These professionals are experienced in working with various types of shed kits and can adapt to different property layouts, making the process straightforward and efficient.
When searching for Amish shed kit installation, property owners can expect to work with local service providers who understand the specific requirements of their area. These contractors often assist with evaluating the installation site, providing advice on placement, and managing the assembly process from start to finish. Connecting with local pros ensures that the installation is handled by experienced individuals familiar with the local environment and building practices, helping to achieve a finished product that meets expectations and enhances outdoor spaces.
This guide provides helpful information to compare and connect with nearby contractors who specialize in Amish shed kit installation. It aims to assist in understanding the key aspects of the project to facilitate discussions with local service providers. By highlighting important considerations, the guide supports informed decision-making when choosing a local contractor for the work.